

Product information
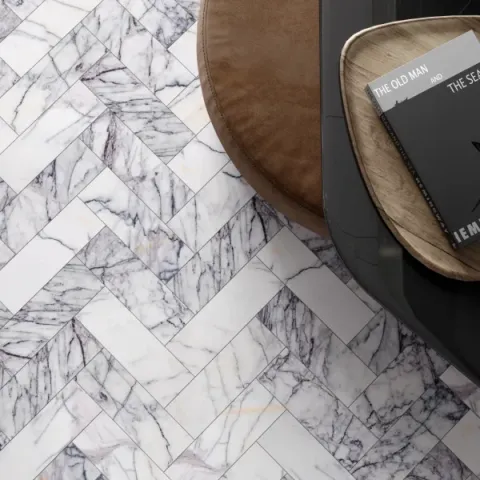
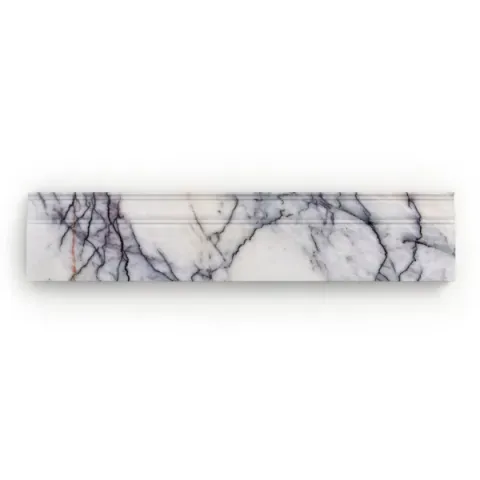
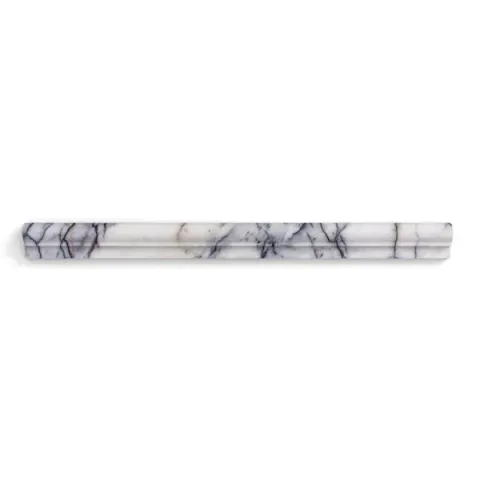
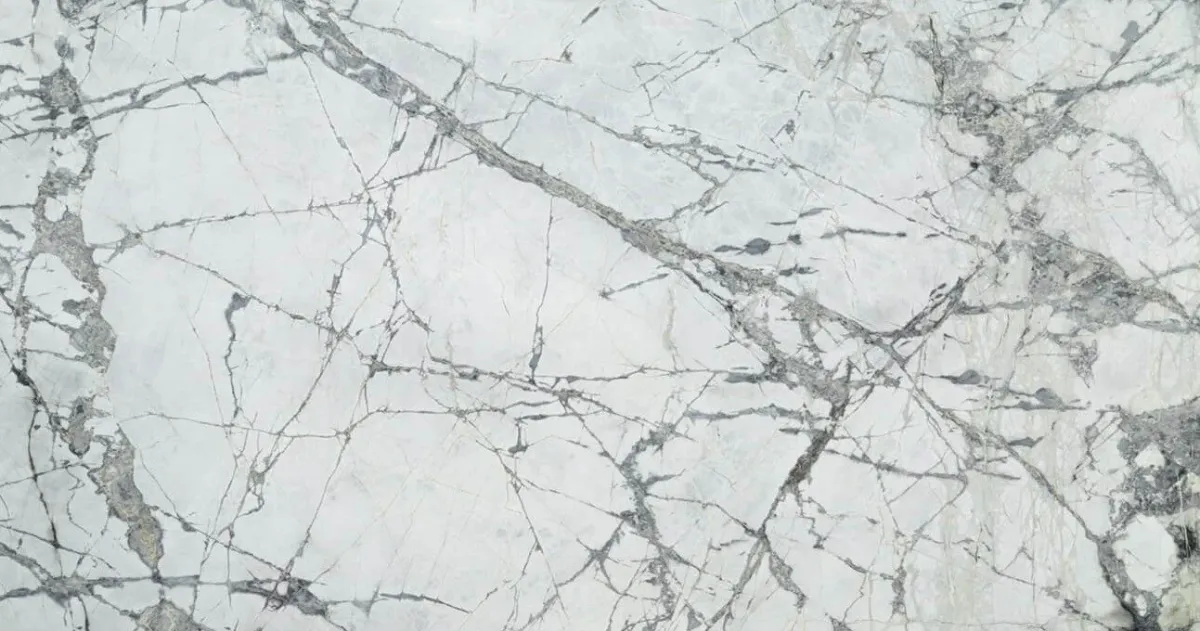
Lilac marble is a natural stone from Muğla, Türkiye, a region known for producing some of the country’s finest marbles. Its soft white to light grey background is crossed by delicate veins in shades of lilac, violet and grey. These cool tones give the stone a calm, sophisticated character that feels both timeless and current.
Our Lilac is the premium selection from the Lilac marble family. It’s chosen for a higher degree of uniformity than other grades from the quarry, so the colour is more consistent and the veining more balanced from tile to tile. That makes it a good choice for larger installations, where an even, harmonious finish across the whole surface matters.
Lilac marble works in many settings. It adds understated luxury to bathrooms, shower walls and vanity areas, and makes a striking feature wall, fireplace surround or floor in living spaces. The soft colouring pairs well with brushed brass, matt black or chrome fittings. It also suits warm timber and neutral palettes, and fits minimalist, classic and contemporary schemes alike.
As with any natural stone, each tile has its own individual markings, so every installation is unique.
Installation and Care for Natural Stone
Natural stone is a beautiful, long-lasting material, but it needs the right preparation, installation and aftercare to look its best. Please read the guidance below before you start your project.
Before You Begin
- Choose the right installation method. The correct method depends on the surface you're tiling onto (the substrate), such as concrete, timber or plasterboard. Make sure the products and methods you use are suitable for your surface.
- Prepare the surface. It must be level, clean, dry and secure before installation begins. Any movement in the surface can cause the tiles to crack later on.
- Blend your tiles. Natural stone varies in tone and veining from piece to piece, which is part of its character. Before fixing, lay the tiles out and mix them from several boxes so the colour variation spreads evenly across the whole area.
- Use a decoupling membrane. We strongly recommend one for stone installations, especially over underfloor heating. It separates the tiles from the surface below and reduces the risk of cracking caused by movement.
- Expect some minor chips. Stone is a natural material and can occasionally arrive with small chips on the edges. These tiles can still be used for cuts and around the edges of the room.
- Allow for size tolerances. All tiles have slight variations in size and thickness. This is normal and should be allowed for when planning your layout.
Adhesive
- Use a flexible adhesive. We recommend this for all tile installations, especially with underfloor heating. A flexible adhesive allows for small movements in the surface below without cracking the tiles.
- Choose standard or fast set. Standard-set adhesive cures more slowly, usually within 24 hours. Fast-set adhesive can be ready in as little as 6 hours. Always check the manufacturer's guidance.
- Apply a full bed of adhesive. Make sure each tile has full contact with the adhesive and no hollow spots. Gaps underneath can lead to cracked or loose tiles.
- Use white adhesive. For all natural stone, use a white powdered adhesive. Grey adhesive can bleed through lighter stones and permanently change their colour.
Grout
- Seal before grouting. Only grout once the tiles are firmly set and the first coat of sealant has fully dried. This helps stop grout staining the stone.
- Use a flexible grout. We recommend this for all installations, as it allows for slight movement and helps prevent cracking along the joints.
- Choose the right joint width. Make sure your joints are wide enough to absorb any variation in tile size.
- Opus and free-length patterns. When laying these patterns, you may need to vary the joint width slightly to keep the layout neat and consistent.
Sealing and Aftercare
- Sealing is essential. It protects natural stone from stains and moisture. Apply one coat before grouting, and another once the installation is complete.
- Reseal regularly. Most floors need resealing every 6–12 months, depending on foot traffic and the type of sealant used. Busy areas such as kitchens and hallways may need it more often.
- Clean with the right products. Acidic cleaners, including vinegar, lemon-based products and many bathroom cleaners, can damage both the sealant and the stone. Use only cleaners made for natural stone.
- Wipe up spills quickly. Wine, coffee, oil and citrus juice can stain or etch the surface if they're left to sit.